
MetaMask is one of the most widely used self-custodial wallets. It gives you one 0x address that works on Ethereum, Polygon, BNB Smart Chain, Arbitrum, Base, Optimism, Linea and more, which is exactly what the PayGate.to card payment gateway needs for USDC payouts on Polygon. Recent versions also create Bitcoin, Solana and TRON addresses from the same recovery phrase.
This guide uses the MetaMask browser extension (version 13.56, November 2026). The mobile app follows the same steps with the same wording.
Step 1: Install MetaMask from the official source
Open the official website metamask.io by typing it yourself, and follow its link to your browser's extension store (or to your phone's official app store). Check that the publisher is MetaMask and that it has millions of users.
When the extension opens for the first time, choose Create a new wallet.

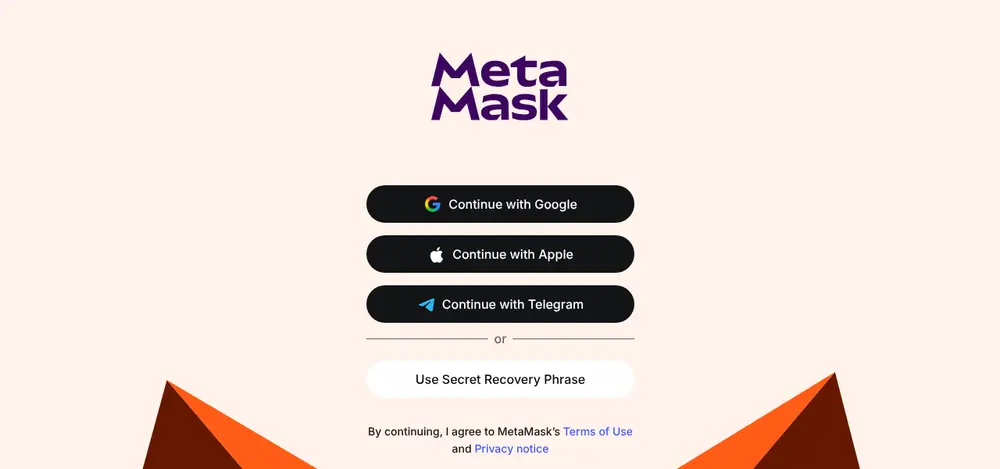
Step 2: Choose "Use Secret Recovery Phrase"
MetaMask offers to sign in with an online account or to use a classic recovery phrase. For a payout wallet, choose Use Secret Recovery Phrase: it's the most portable option, works offline and can be restored in any compatible wallet.
Step 3: Set a strong password
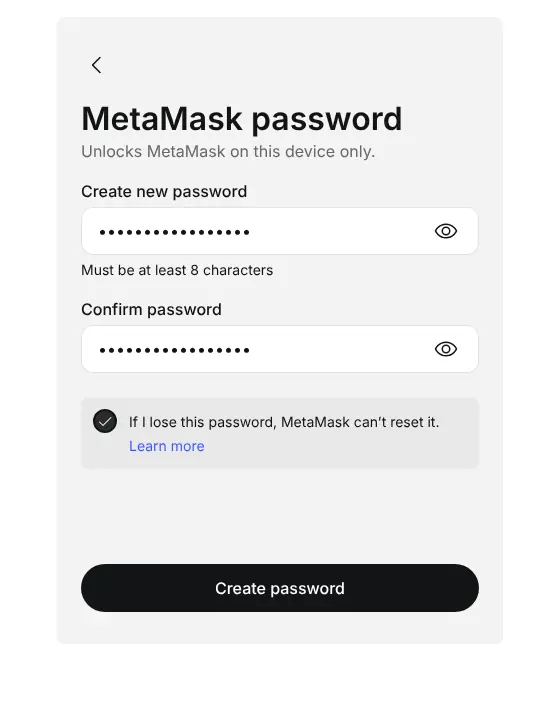
The password only unlocks MetaMask on this device. It doesn't protect your funds anywhere else, and MetaMask can't reset it, but you can always restore the wallet with the recovery phrase.
Use at least 12 characters, tick the box that says MetaMask can't reset the password, and click Create password.
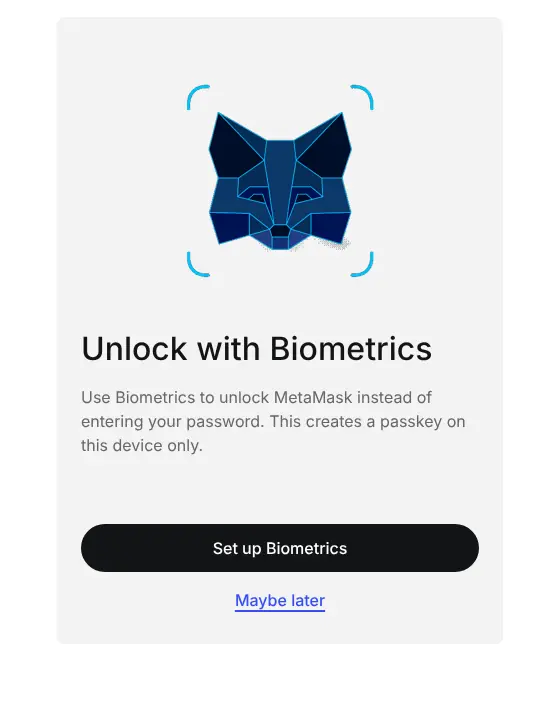
MetaMask may then offer to unlock with biometrics. That's a convenience for this device; Maybe later is fine.
Step 4: Write down your Secret Recovery Phrase
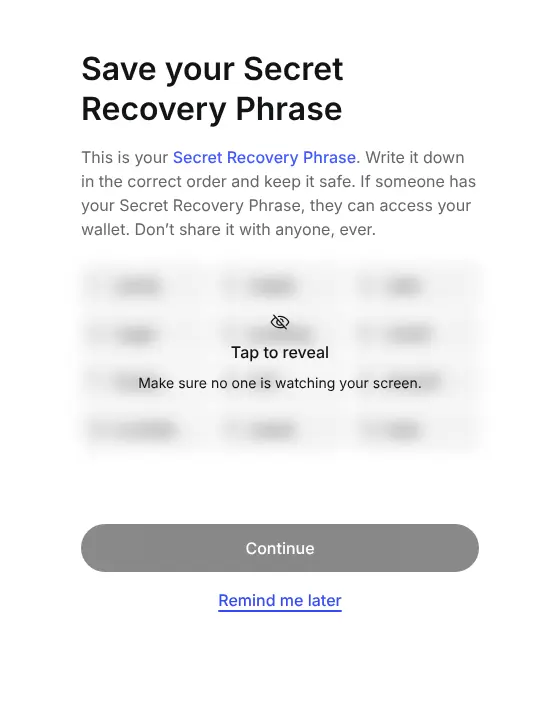
This is the most important step. MetaMask shows 12 words hidden behind a blur. Make sure nobody can see your screen, click Tap to reveal, and write the words on paper, in order, with their numbers.
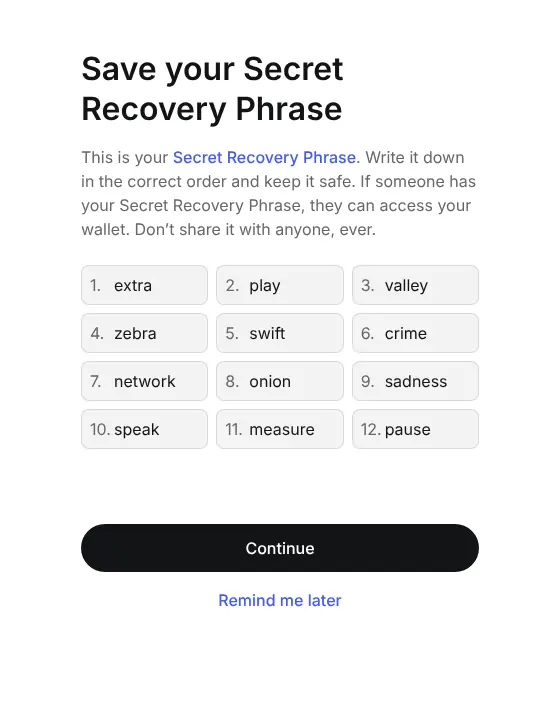
Read Seed phrases explained and Back up a seed phrase safely for good ways to store it.
Step 5: Confirm the phrase
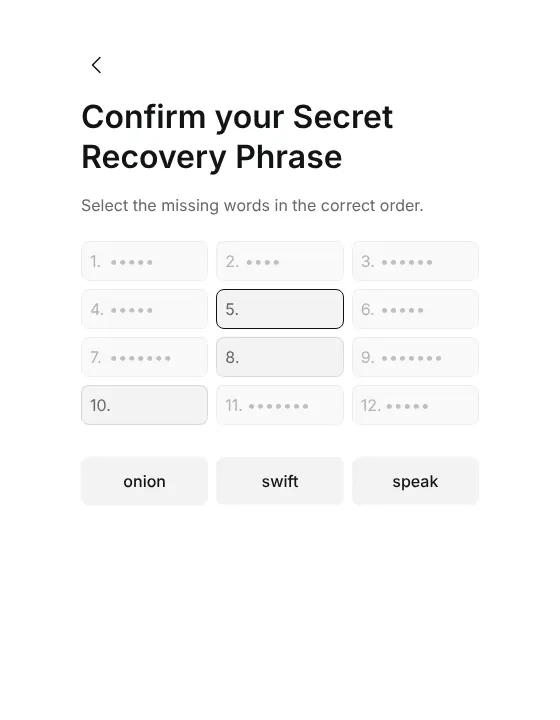
MetaMask checks that you wrote the words correctly by asking for a few missing ones. Select them in the right order from your paper copy.
Step 6: Choose your privacy settings
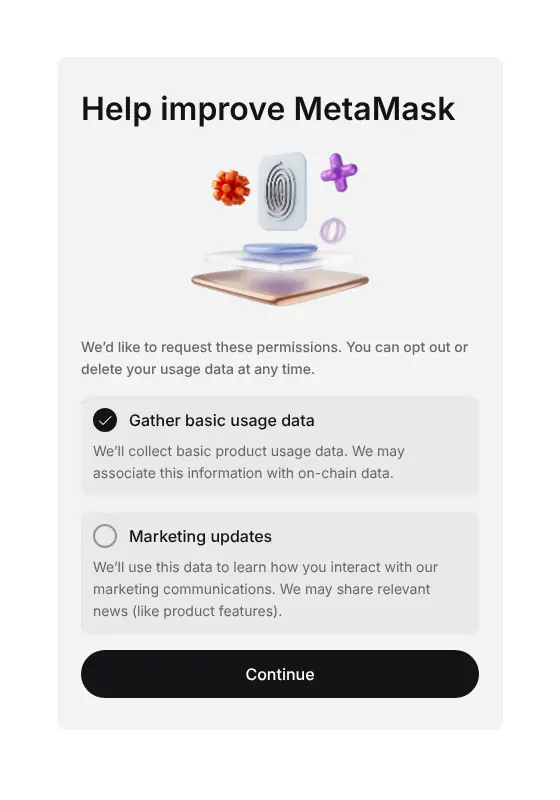
MetaMask asks whether it may gather usage data and send marketing updates. Neither is needed for the wallet to work. We unticked both before clicking Continue.
Step 7: Find your 0x address
Open the wallet. Your account name sits at the top with a shortened address underneath (0x… followed by the last characters). Click Receive to see every address this wallet has.
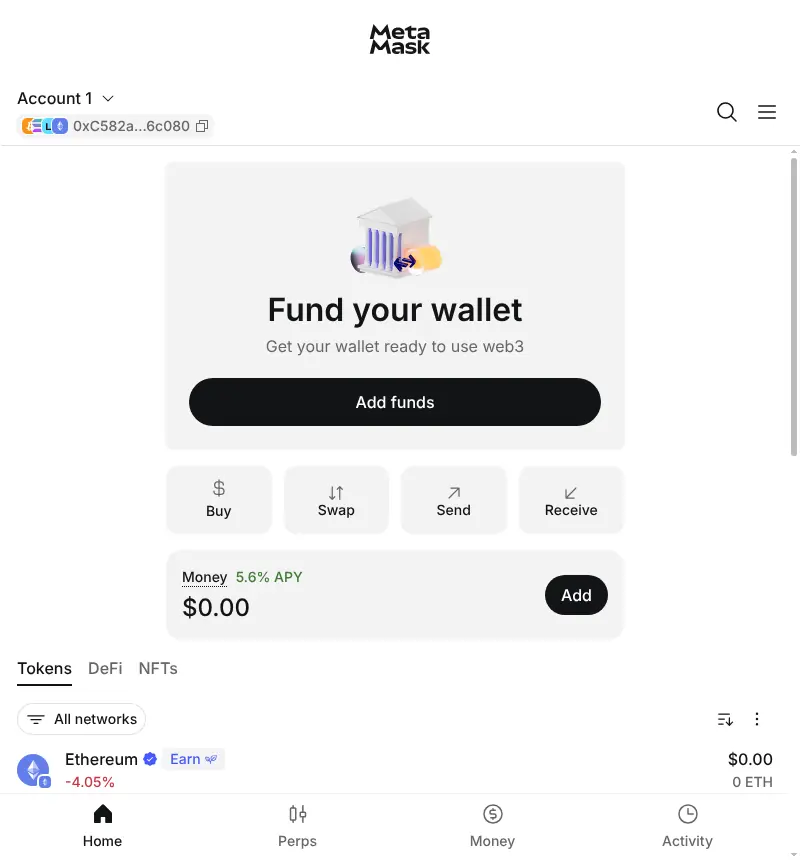
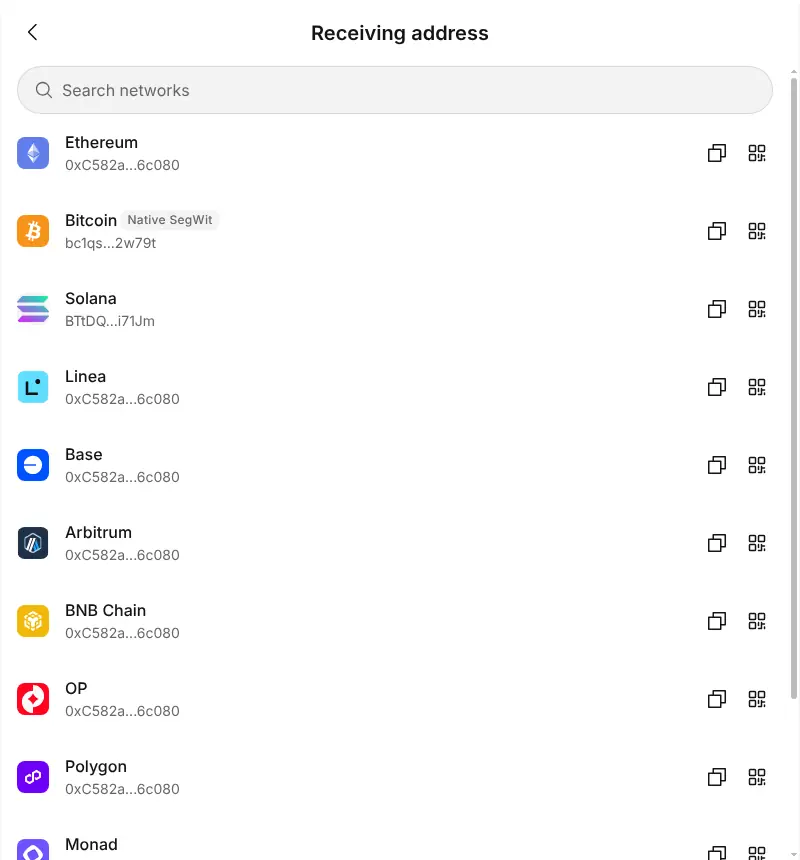
The receive list shows the same 0x address for Ethereum, Linea, Base, Arbitrum, BNB Chain, OP, Polygon and Monad, plus separate Bitcoin, Solana and TRON addresses.
Click the QR icon next to Polygon to see the full address. Use Copy address rather than typing it.
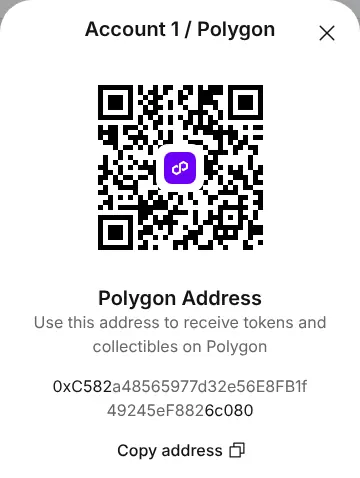
Step 8: Check the address before you use it
- It starts with
0xand is 42 characters long. - Compare the first 6 and last 6 characters of what you pasted with MetaMask.
- For a first payout, send or receive a small amount and confirm it arrives.
Use your MetaMask address with PayGate.to
| Where | What to paste | What arrives |
|---|---|---|
| Card payment plugins (WooCommerce, WHMCS, Magento and others) | Your 0x address | USDC on Polygon. Switch MetaMask to Polygon to see it. |
| Crypto payment plugins, multi-coin mode | Your 0x address in the EVM wallet field | Coins on Ethereum, Polygon, BNB Smart Chain, Arbitrum, Base, Optimism, Linea, Avalanche, Berachain and Monad |
| Crypto plugins, Bitcoin / Solana / TRC20 fields | Your MetaMask Bitcoin, Solana or TRON address | BTC, SOL and Solana tokens, TRX and USDT TRC20 |
| Payment links | Your 0x address | USDC on Polygon |
Avalanche and Berachain aren't shown by default in MetaMask; Add Polygon, Base, Arbitrum and other networks to MetaMask shows how to add them.
Frequently asked questions
Is MetaMask a self-custodial wallet?
Yes, when you create it with a Secret Recovery Phrase as in this guide. The phrase is generated on your device and MetaMask never has a copy. That also means nobody can recover it for you.
Do I need ETH or POL in my wallet to receive payouts?
No. Receiving is free. You only need the network's fee coin (POL on Polygon, ETH on Ethereum) when you later send or swap what you received.
Can I use the MetaMask mobile app instead of the extension?
Yes. The steps and wording are the same. If you use both, restore the same Secret Recovery Phrase on the second device rather than creating a new wallet, so both show the same addresses.
I see USDC in my payout history but not in MetaMask. Why?
MetaMask may be showing a different network. Select All networks or Polygon in the token list. If USDC still isn't listed, use Import tokens with the official USDC contract address for Polygon.
Should I use a separate wallet for my business?
It's a good idea. A dedicated wallet (or at least a dedicated account in MetaMask) keeps business payouts apart from personal funds and makes bookkeeping easier. For large balances, move funds regularly to a hardware wallet.