
Electrum is a long-running, open-source Bitcoin-only desktop wallet. It's light (it doesn't download the whole blockchain), it can run on an offline computer for cold storage, and it gives you as many bc1… receiving addresses as you need. This guide uses Electrum 4.8.4 (November 2026) and shows every screen.
Step 1: Download from electrum.org and verify it
Download Electrum only from electrum.org (type it yourself). Next to every file there's a signature (.asc). Verifying it proves the file was signed by the Electrum developers and not swapped by an attacker.
We verified our download with gpg, the standard open-source signature tool, using the developer key published in Electrum's source repository:
gpg --import ThomasV.asc
gpg --verify electrum-4.8.4-x86_64.AppImage.ThomasV.asc electrum-4.8.4-x86_64.AppImagegpg: Signature made Sat Nov 7 10:58:15 2026 UTC
gpg: using RSA key 6694D8DE7BE8EE5631BED9502BD5824B7F9470E6
gpg: Good signature from "Thomas Voegtlin (https://electrum.org) <[email protected]>" [unknown]
Primary key fingerprint: 6694 D8DE 7BE8 EE56 31BE D950 2BD5 824B 7F94 70E6"Good signature" with that fingerprint is what you want. The "not certified" warning that gpg also prints just means you haven't personally signed the developer's key. Verify wallet downloads with signatures and checksums explains each line.
Step 2: Start Electrum and accept the terms
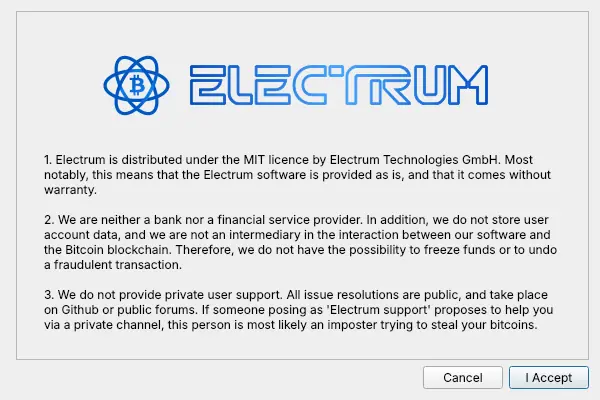
On first start Electrum shows its terms: it's MIT-licensed software, it isn't a bank, and there is no private Electrum support. Anyone offering "Electrum support" in a private message is a scammer.
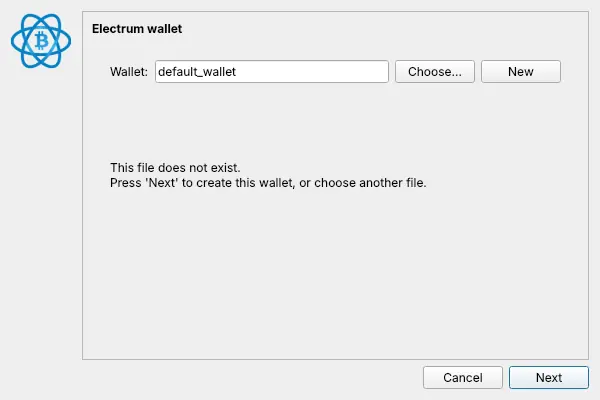
Keep the default wallet file name (or type your own) and click Next.
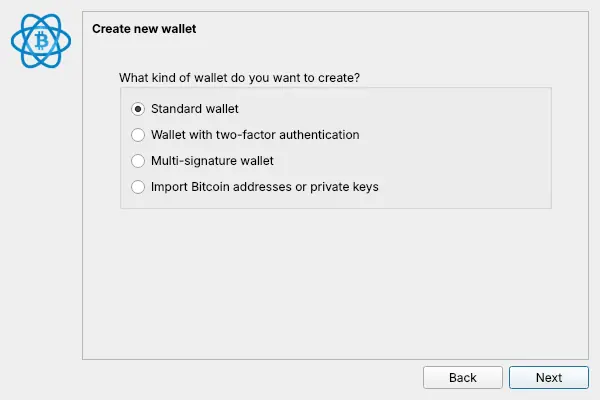
Step 3: Choose a standard wallet with a new seed
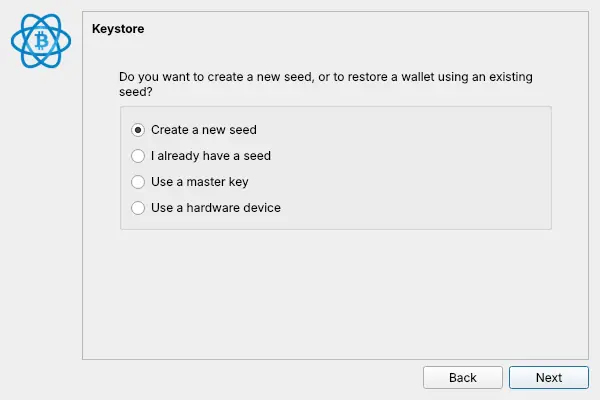
Select Standard wallet, then Create a new seed.
Step 4: Write down the 12-word seed
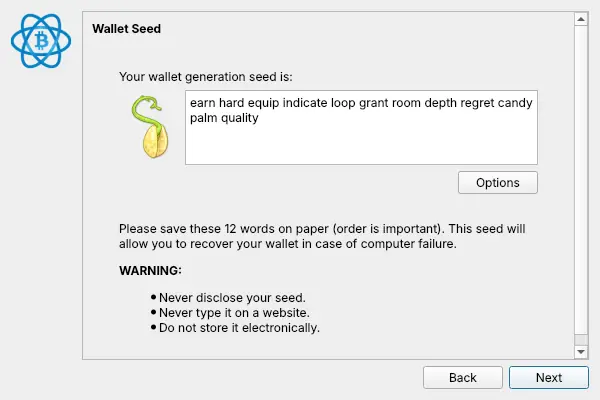
Electrum shows your 12-word seed. Write it on paper, in order.
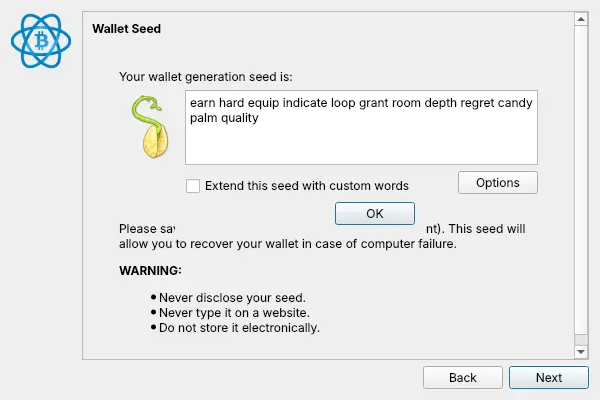
Options lets you extend the seed with custom words (a passphrase). It adds protection, but if you forget the extra words the wallet can't be restored. Leave it off unless you understand the trade-off.
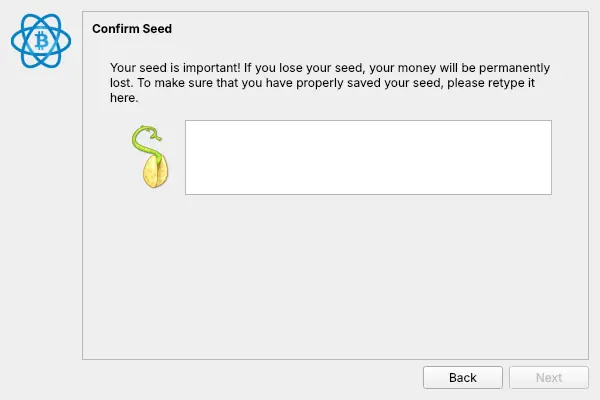
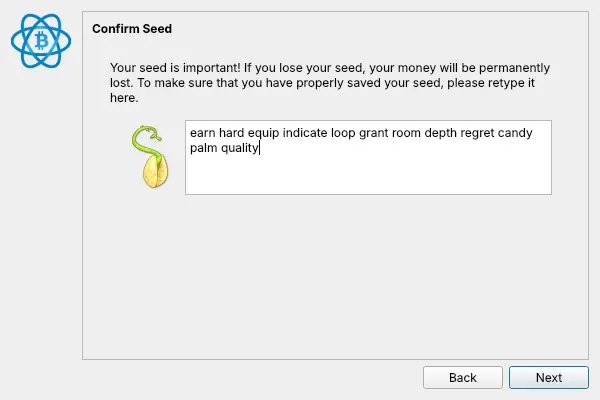
Step 5: Retype the seed
Electrum asks you to type the seed back, to prove your paper copy is complete and in order.
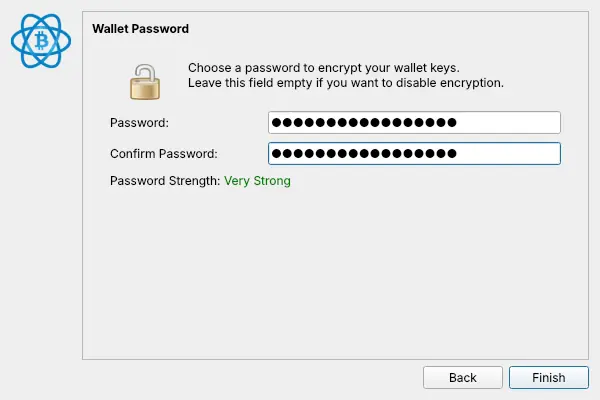
Step 6: Encrypt the wallet file
Set a password. It encrypts the wallet file on this computer, so someone who copies the file still can't spend.
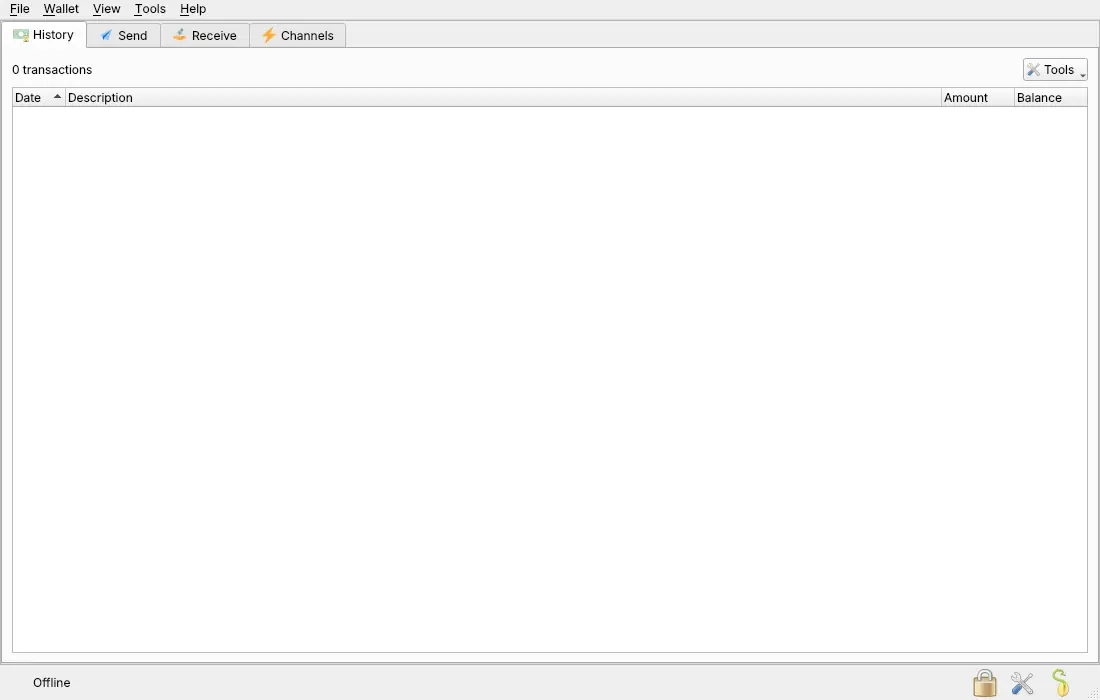
Electrum opens the main window. Ours says Offline because we created this wallet without internet, which is also how you'd create a cold-storage wallet.
Step 7: Get a fixed receiving address
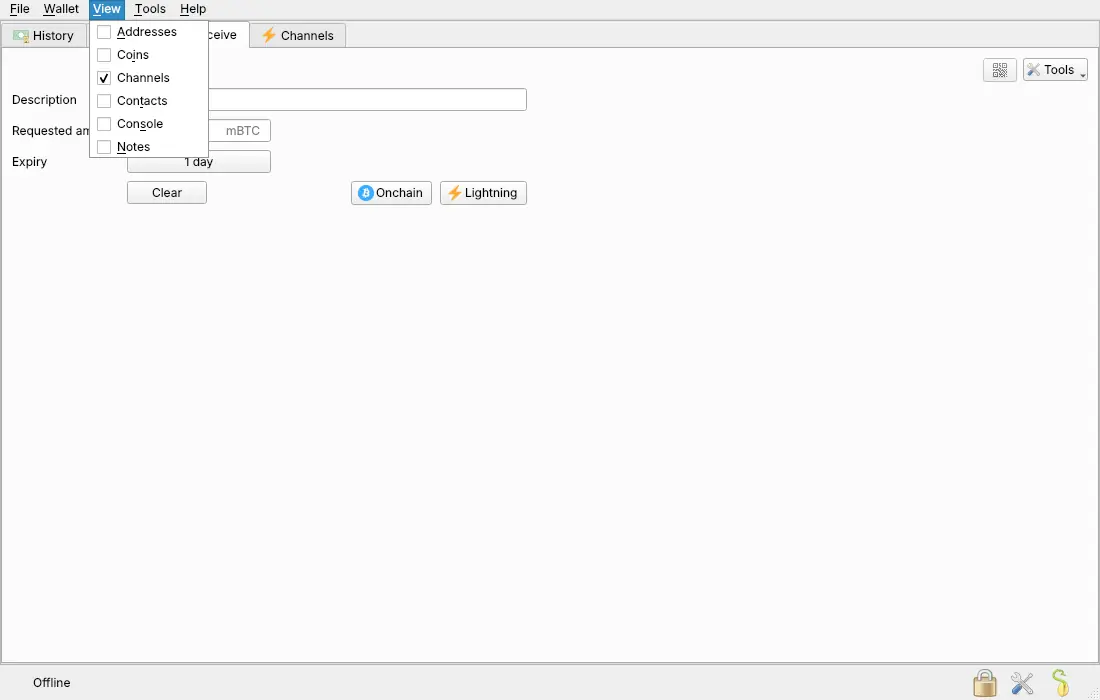
Electrum's Receive tab creates payment requests with an expiry. For a payout address that never changes, show the address list instead: View → Addresses.
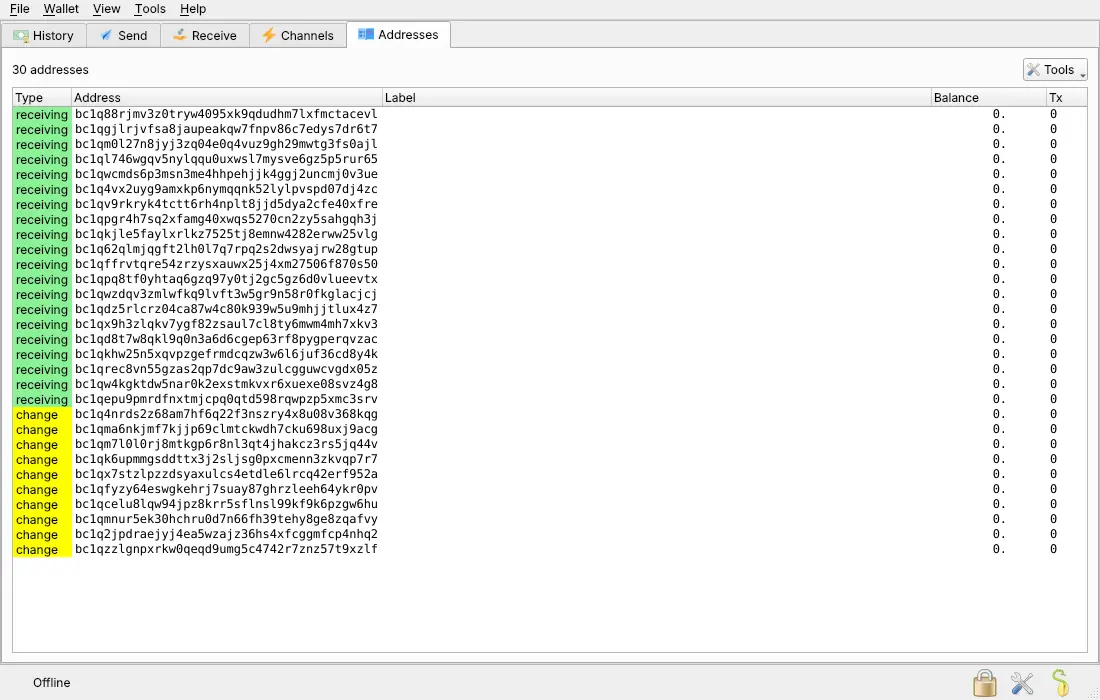
Open the Addresses tab. The green receiving addresses all start with bc1q (native SegWit). Right-click the first one and choose Copy address.
Use it with PayGate.to
Paste the bc1q… address into the Bitcoin (BTC) field of your PayGate.to plugin, or use it as address in GET /crypto/btc/wallet.php with the crypto payment API. Every Bitcoin payment is forwarded to it as soon as it's confirmed. Accept Bitcoin payments without KYC covers the rest.
Frequently asked questions
Do I need to stay online for payouts to arrive?
No. Payouts are recorded on the Bitcoin blockchain whether your wallet is open or not. Electrum shows them the next time it connects.
Can I create the wallet offline?
Yes, and for cold storage you should: create it on an offline computer (for example Tails), copy only the receiving address, and never connect that computer. To check payouts, use a watch-only wallet with the master public key.
What's the difference between bc1q and other Bitcoin addresses?
bc1q… is native SegWit, the default in Electrum and supported by every modern wallet. Older formats start with 1 or 3; newer Taproot addresses start with bc1p. See Crypto addresses explained.
I lost my Electrum password. Is my Bitcoin gone?
No, as long as you have the seed. Restore the seed in a new Electrum wallet ("I already have a seed") and set a new password.