
Want crypto too? Our free PrestaShop crypto module is the only crypto payment gateway with instant payouts for Solana, Monero, Zcash and Bitcoin. Read the PrestaShop crypto guide.
What you need before you start
- PrestaShop 1.7.7 or newer (tested on PrestaShop 8.2).
- Back-office access with permission to install modules.
- Your shop must be online and not in maintenance mode while it takes card payments, so payment confirmations can reach it.
- A USDC wallet address on Polygon (starts with
0x). Step 1 shows how.
Check that your business is allowed first: see the prohibited businesses list.
Get your USDC (Polygon) payout wallet
Card payments are paid out to a USDC wallet on the Polygon network. That is a normal wallet address that starts with 0x. Payouts may arrive as USDC, USDT (Polygon or BEP-20), ETH or the POL native token, and the same address receives all of them.
- Use a self-custodial wallet that only you control, for example Trust Wallet, MetaMask, Rabby or a hardware wallet. You can create a free one in a few minutes with the Trust Wallet app on your phone.
- Copy your Polygon address (it starts with
0x, 42 characters).
Never use an exchange deposit address (Binance, Coinbase, Kraken and so on). Exchanges can freeze or lose payouts sent to deposit addresses. Also do not paste the USDC token contract address: it is not a wallet.
Download the module
Download instantpayment_gateway.zip. It is free and open source (source on GitHub). Do not unzip it.
Upload the module
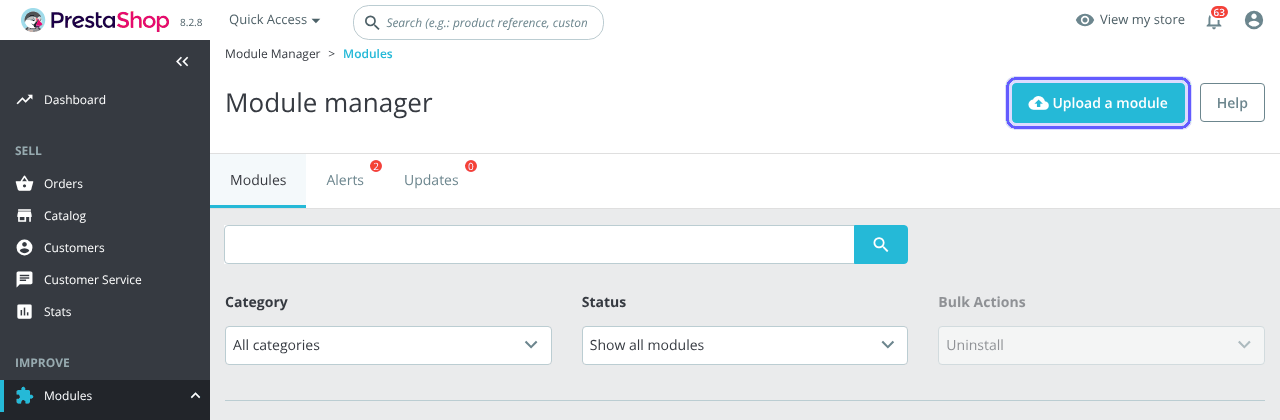
- In your PrestaShop back office, open Modules › Module Manager.
- Click Upload a module at the top right.
- Drop
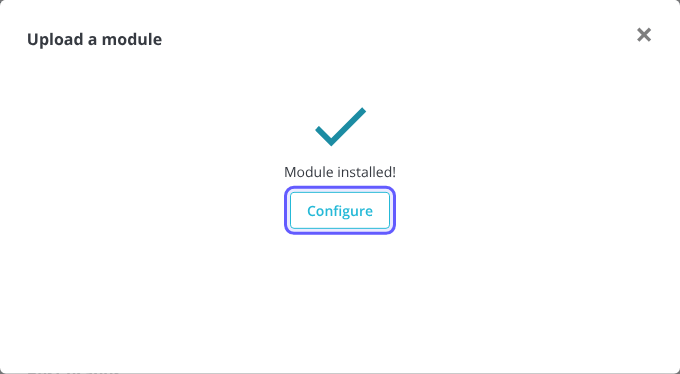
instantpayment_gateway.zipinto the window (or click select file). PrestaShop installs it automatically and shows Module installed! - Click Configure.
Turn it on and paste your wallet
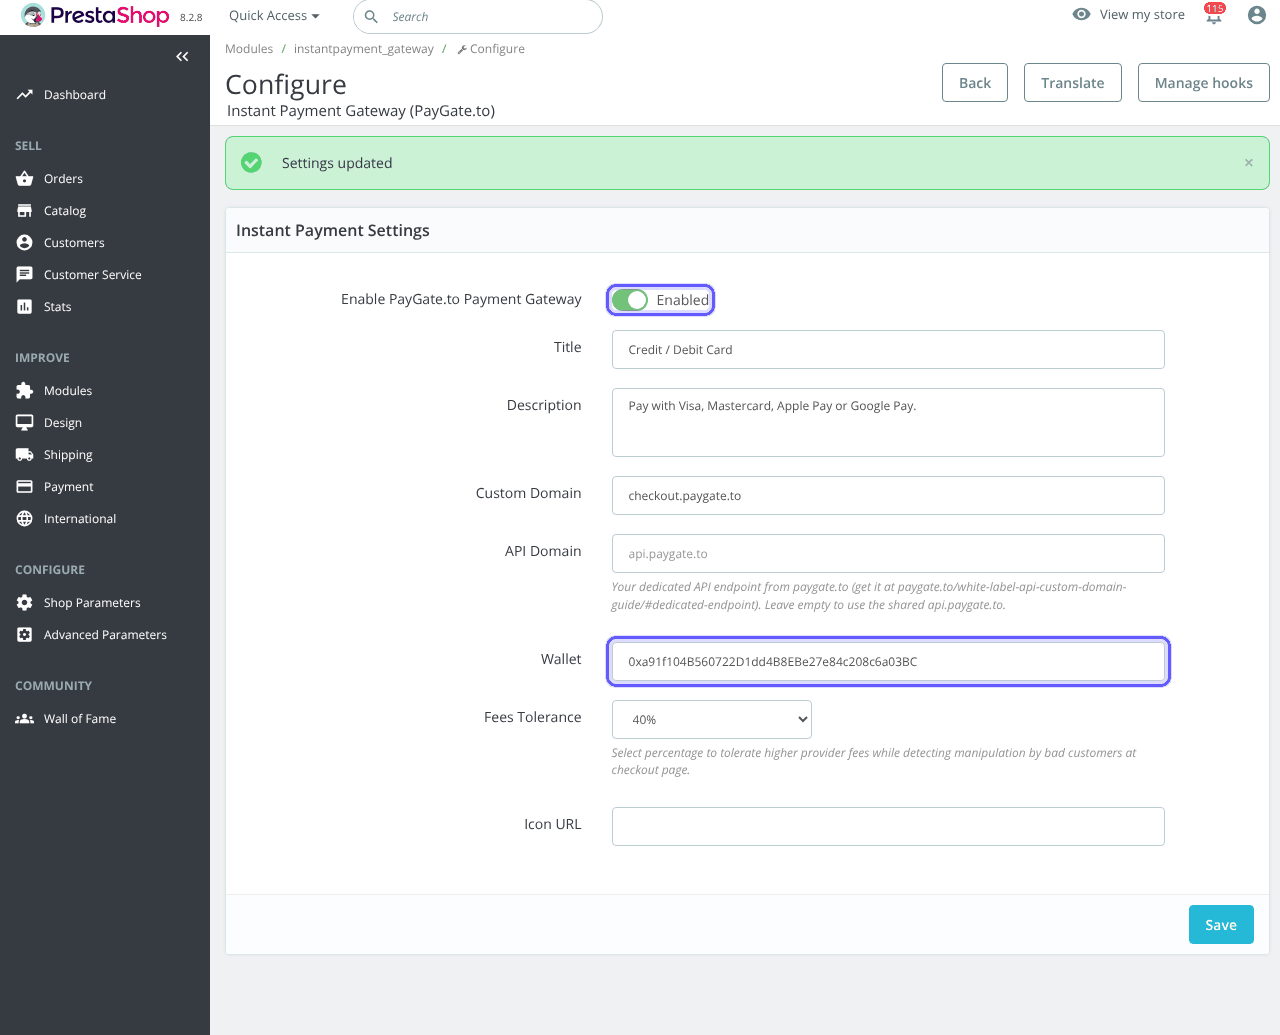
- Enable PayGate.to Payment Gateway: Enabled.
- Title and Description: what customers see at checkout, for example Credit / Debit Card.
- Custom Domain (
checkout.paygate.to) and API Domain (empty): leave them as they are unless you use your own domain. - Wallet: paste your Polygon address.
- Fees Tolerance (40% by default): how far below the order total a payment may be before the order gets Payment error. Providers charge different fees, so keep a margin.
- Icon URL (optional): a logo shown next to the payment option.
- Click Save.
The payment option only appears at checkout once a Wallet is saved.
Place a test order
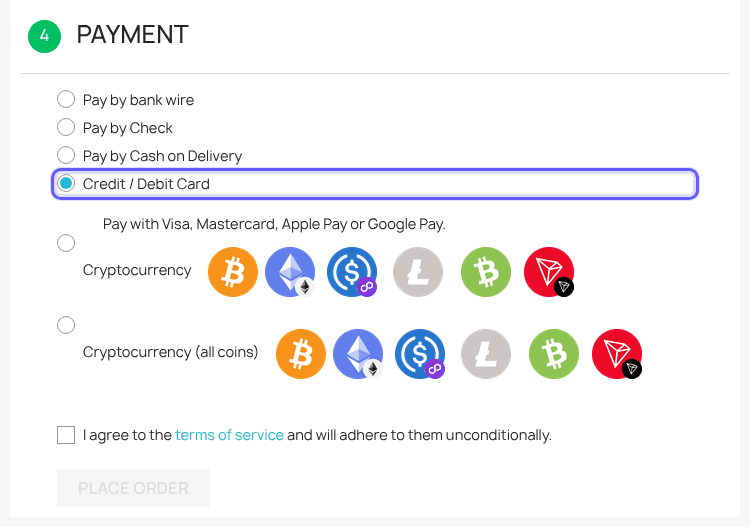
In a private window, add a product to the cart and check out. At the payment step, choose your card option, accept the terms and click Place order. The customer is taken to the secure payment page to pay with Visa, Mastercard, Apple Pay, Google Pay and more.
Card minimums range from about $1 to $30 depending on the provider (see the minimums).
The order is updated automatically
New orders start as Awaiting card payment while the customer pays. When the payment is confirmed, the order moves to Payment accepted and PrestaShop records the payment. Every confirmation is signed by PayGate.to and the module checks that signature first, so a forged or altered confirmation never changes an order. The admin order page shows a PayGate Transaction Details block with the payment reference, the amount and the payout transaction ID.
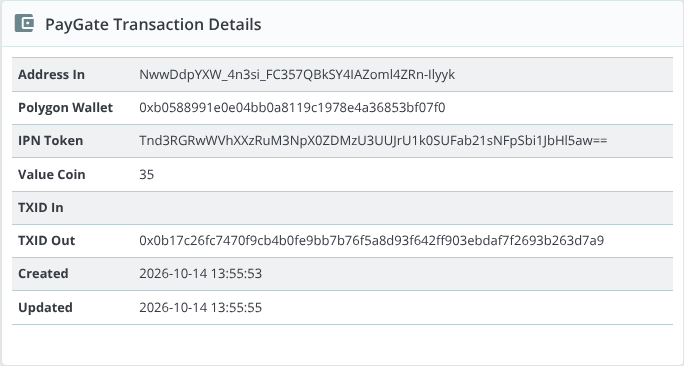
Your payout reaches your wallet at the same time. Follow it with the payout tracker.
All settings explained
| Setting | What it does | Default |
|---|---|---|
| Enable PayGate.to Payment Gateway | Shows or hides the payment option. | Enabled |
| Title | Name of the payment option. | Instant Credit Card Payment |
| Description | Text shown under the option. | Pay using configured payment provider. |
| Custom Domain | Domain of the hosted payment page. | checkout.paygate.to |
| API Domain | Your dedicated API endpoint. | Empty (api.paygate.to) |
| Wallet Required | Your USDC (Polygon) payout address. | – |
| Fees Tolerance | How far below the order total a payment may be before the order gets Payment error (10% to 90%, or disabled). | 40% |
| Icon URL | Logo shown next to the payment option. | Empty |
How orders are updated
| Order status | When |
|---|---|
| Awaiting card payment | The order was placed and the customer went to the payment page. |
| Payment accepted | The payment was confirmed. |
| Payment error | The amount received was below your Fees Tolerance. A message on the order shows the TXID. |
Troubleshooting and FAQ
The card option does not show at checkout.
Make sure the gateway is enabled and a Wallet is saved. If you just installed the module, clear the cache in Advanced Parameters › Performance.
The customer paid but the order is not "Payment accepted".
The confirmation could not reach the shop. Turn off maintenance mode, make sure the shop is public, and keep Shop Parameters › General › Enable SSL settings consistent. Non-USD shops also need allow_url_fopen enabled in PHP.
Which PrestaShop versions are supported?
PrestaShop 1.7.7 and newer, including PrestaShop 8.
Do I need an account, API key or KYC?
No. Your wallet address is all you need. Never contact or create accounts at any of the payment providers.
What are the fees?
1% plus the provider’s fees. Payments are final, with zero chargebacks.
How do I update the module?
Download the new zip and upload it again in Module Manager › Upload a module. Your settings are kept, and PrestaShop runs the update (it adds the Awaiting card payment status and the Fees Tolerance setting, set to 40%).
Other platforms and next steps
The same card gateway is available for every major platform:
Stuck? Our team replies fast.Send us your platform, a screenshot and the order number if you have one.
Chat with support